


Unleash Your Creativity With DIY Jewelry: Laser-Engraving Machine Tutorials
Making your own jewelry is a rewarding hobby that allows you to express your creativity with the added benefit of showcasing your final product. Many DIY jewelers garnish necklaces and bracelets with beads, jewels, or any other accessories, but wouldn't it be impressive to create your own, stand-out pendants and prints with the help of a jewelry laser-engraving machine?
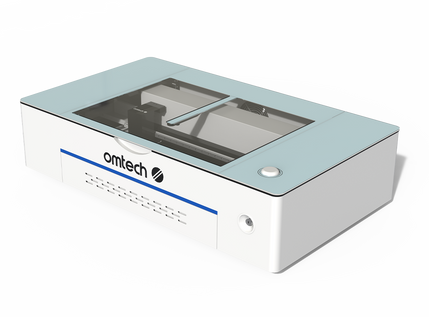
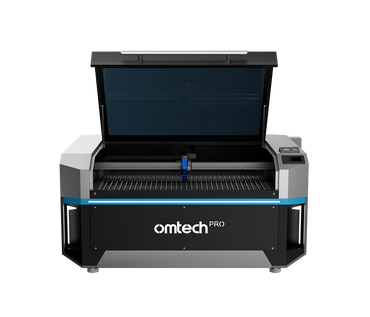
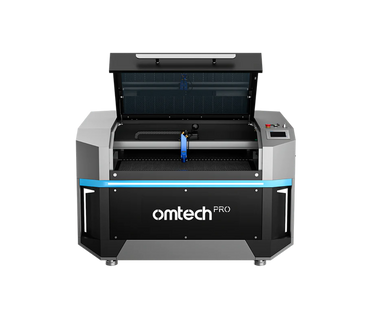
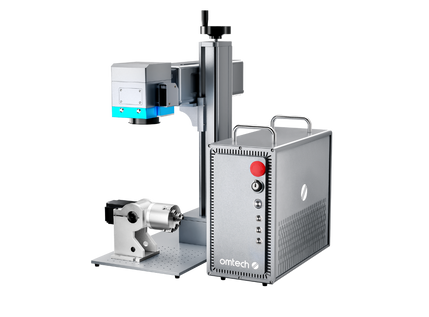
When it comes to a laser-cutting machine for jewelry, OMTech devices such as the OMTech Polar can deftly engrave and cut materials like wood, leather, acrylic, and more to create beautiful masterpieces. This desktop laser engraver is the perfect size for hobbyist, as it can fit snugly inside a craft room, closet, or similar compact spaces!
You can utilize the engravings from your laser machine virtually anywhere: from pendants for necklaces and bracelets to even earrings. Use an OMTech laser machine for jewelry to create custom presents for friends and family!
How to Make Earrings Using a Jewelry Laser-Engraving Machine
Ready to create your own work of art? Before you get into the jewelry-making process, prepare yourself by ensuring you have the right tools and materials.
Secure your material and design
For this project, we suggest using 3mm-thick, clear acrylic sheets for the earrings. With a predetermined image in mind, open it in Lightburn—OMTech’s designated laser-software program.
Create an outline of the image
Using Lightburn’s built-in image trace, create a one-millimeter outline around the image.

After the outline is set, delete the image trace, leaving the outlined offset shapes behind.

Make the registration marks
Without registration marks, you won’t be able to set the target position in the Print and Cut tool. The registration marks calibrate the laser so that the machine knows where to begin cutting. Therefore, you will need to use the Pen feature to create a cross that will act as the registration mark.
Create two perpendicular lines, select them, and group them together by right-clicking the lines. Once you have the cross centered with your images, duplicate the mark to drag it to the other side. Make sure that the registration marks are aligned to their proper places within a fraction of a millimeter


Set the registration marks
Select the first registration mark and move over to the OMTech jewelry laser-cutting machine. Center the laser so that it is perfectly aligned with your image—right over the registration mark.

After you have manually centered the laser, go back into the Lightburn Print and Cut tool and select “Set First Target Position.”

A red circle should appear around the registration mark, which means the computer now knows where the first registration mark is.
Repeat the same process for the second registration mark: move the laser to the second mark and pick “Set Second Target Position.” There should be a blue circle around the second marker.

Align target outputs
In the Print and Cut tool, select “Align Output to Targets.” Green circles should appear around the registration marks, signaling that the jewelry laser machine is calibrated and ready to go.

Turn off the output
Because the registration marks are on the Cut layer, you need to go ahead and switch the layers while also turning off the output. We don’t want the laser to cut through those marks. We also used the “Cut Setting Editor” to change the Max Power to 1 to adjust the cutlines. This allows the system to perform a dry run that allows you to check the machine’s alignment.
Once you’re satisfied with the outcome of the dry run, continue to the actual cutting process. The laser from the OMTech machine is so precise that it will retrace the original lines to ensure there aren’t any additional divots or discrepancies in the design.

Pop out the designs
Open your machine and withdraw your newly engraved and cut pieces! Pop out the designs and examine the cuts. If they are to your liking, prep the acrylic for jewelry. If the cuts are off-centered, too thick, or not to your preference, adjust the cut settings on Lightburn for the best results. It might take a bit of trial and error to figure out what works for your machine and materials, but once you figure out the optimal settings, your production will take off!
Prep the earrings
Peel the protective film from the acrylic. Select the hardware for your earrings and attach them to the acrylic. After you have connected the pieces, you have the final product: custom-made jewelry for any occasion!

Harness the Power of an OMTech Laser Machine
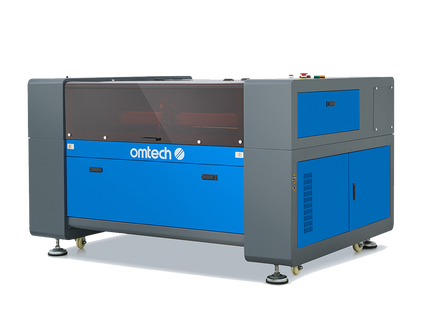
An OMTech CO₂ laser machine doesn’t just have the power to create beautiful and intricate jewelry; it can also be used for a wide variety of applications. Whether it’s DIY crafts using cardboard, plastics, or fabric, or etching patterns onto wood or glassware, OMTech laser-engravers are the perfect accessory for both hobbyists and fanatics who want to make high-quality products.
Regardless of whether you utilize your OMTech machine as a jewelry laser-engraving machine or as an accessory for other DIY projects, the precision, accuracy, and optimal efficiency of OMTech’s laser engravers allow you to breathe life into your custom designs. With an OMTech laser engraver in your arsenal, you’ll have the ability to create incredible products and achieve incredible results.